


DTF Transfer Instructions That Actually Work

You've got a stack of transfers, a heated press, and a pile of blanks ready to go. The first hoodie looks fine, the second has a lifting corner, and the polyester shirt develops a faint color shift after pressing. The problem usually isn't that DTF transfers are unreliable. It's that one default recipe is being applied to garments, films, and press conditions that aren't the same.
Reliable DTF transfer instructions treat temperature, dwell time, pressure, peel timing, and fabric composition as connected production variables. The settings printed on a supplier's sheet are the starting point. A test press on the same type of blank you'll use in production is the quality gate.
Table of Contents
What You're Actually Working With - The variables that control the result
Pre-Press Prep That Sets You Up to Win - Check the press before trusting the display
Heat, Time, and Pressure by Fabric Type - DTF Transfer Settings by Fabric Type - Why more heat isn't a universal solution
Pressing, Peeling, and Finishing the Transfer - Peel according to the film, not habit - Finish with a visual quality check
Troubleshooting When Something Looks Off - DTF Defects and Likely Fixes
Wash Care and Realistic Durability Expectations - Build a wash test you can defend
What You're Actually Working With
DTF, or Direct-to-Film, uses a coated film, printed ink, hot-melt adhesive powder, curing, and a heat press to move a finished image onto a garment. That sequence gives you flexibility across cotton, polyester, blends, and other textiles, but it also creates several points where a small mismatch can become a visible defect.
The garment has to be dry and smooth. The press has to deliver the temperature and pressure shown on its display, not merely the temperature you hope it's delivering. The film must be cured correctly, positioned accurately, and peeled according to its design. The final press then helps complete the bond and refine the finish.
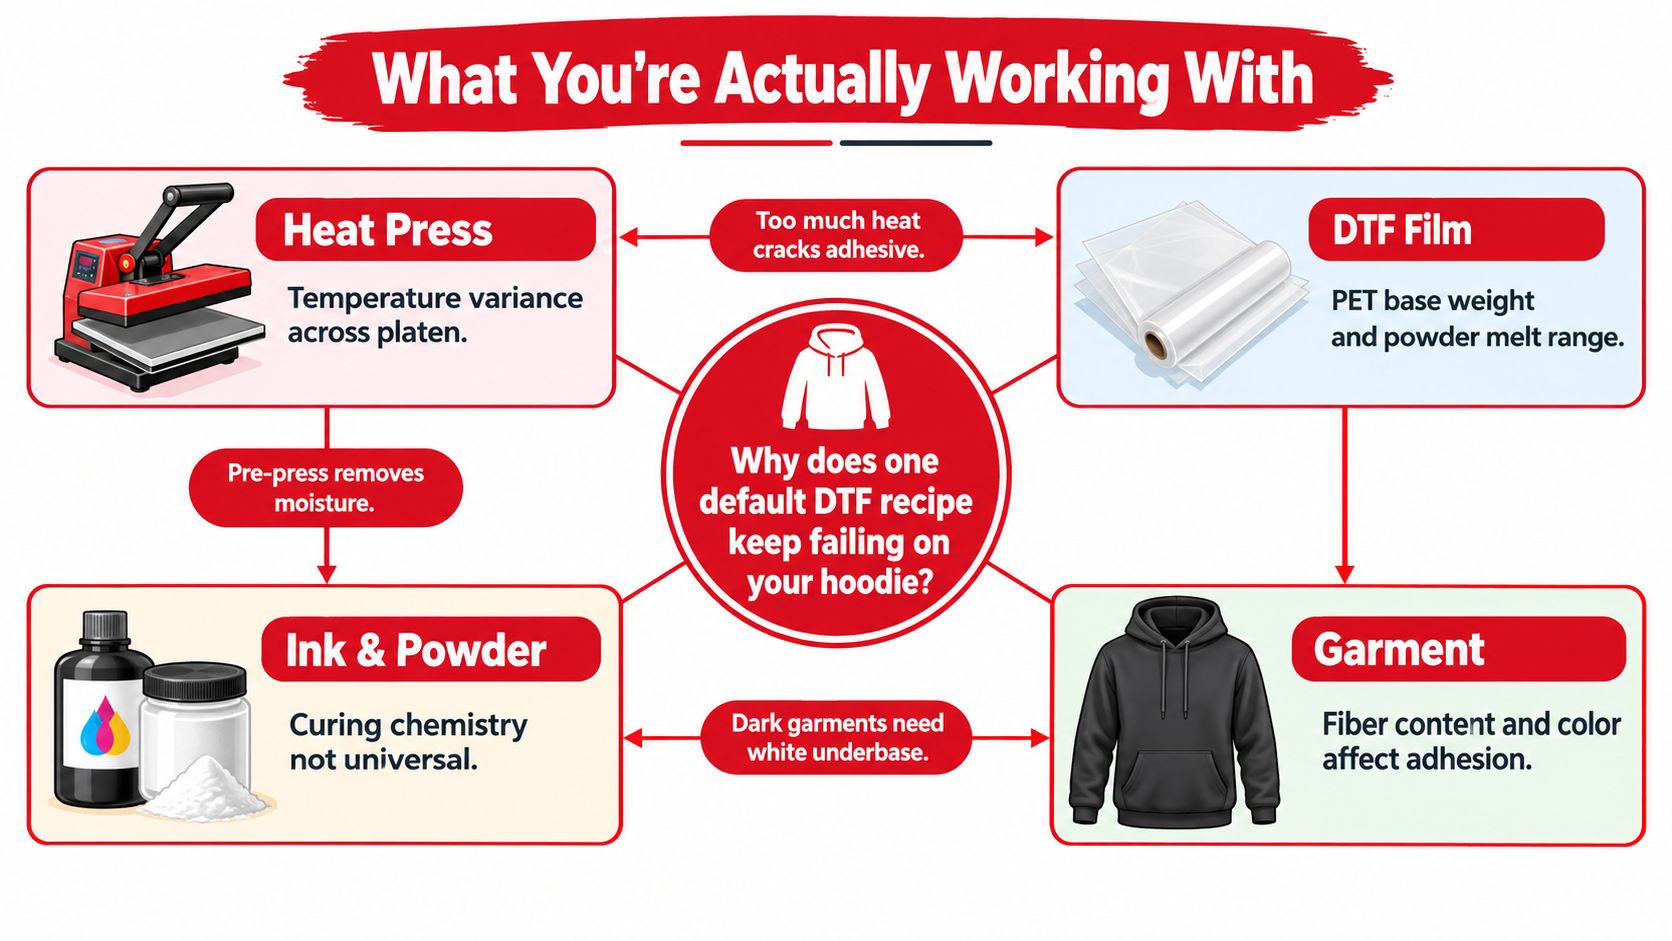
The variables that control the result
Think of every application as a small production experiment with six measurable inputs:
Pre-press: Removes moisture and wrinkles before the transfer is placed.
Temperature: Melts the adhesive, but excessive heat can scorch fabric or encourage dye migration.
Dwell time: Gives the adhesive enough time to bond, though longer isn't automatically better.
Pressure: Pushes the transfer into the garment surface and must be even across the design.
Peel timing: Determines whether the carrier film releases cleanly or pulls at the image.
Post-pressing: Adds a final bonding and finishing pass through a protective sheet.
A cotton tee and a polyester performance shirt can't be treated as interchangeable. A thick hoodie can also respond differently from a lightweight shirt, even when both contain cotton. That's why a supplier's specification should take priority over a generic online setting. The DTF production reference visual can also help teams keep the workflow visible at the press station.
Production rule: Never scale a new transfer and garment combination directly into a full batch. Press one representative blank, let it cool, inspect the bond, and record the profile that worked.
Pre-Press Prep That Sets You Up to Win
A good press can't compensate for a damp, wrinkled, or uneven garment. Start by checking the blank for moisture, creases, lint, seams, zippers, buttons, and bulky construction that could prevent the platen from applying consistent pressure.
Pre-press the garment for 3–5 seconds to remove moisture and flatten wrinkles, using the supplier's instructions as the controlling specification. Polyester generally benefits from a lighter, shorter preparation because unnecessary heat can increase the risk of scorching or dye migration. Cotton and cotton-rich garments can usually tolerate the standard preparation more comfortably. These starting values and fabric cautions are outlined in the DTF application guidance.
Check the press before trusting the display
Let the press reach its operating temperature, then verify the platen with a suitable secondary thermometer if you have one. A display can show the programmed value while the platen has uneven heat distribution or a calibration problem. Check the center and working area where the transfer will sit.
Pressure deserves the same attention. Use a pressing pillow or compatible pad when seams, zippers, or garment construction create a height difference. A folded towel may help in some situations, but it can also create uneven support, so inspect the surface rather than assuming it's level.
Keep the transfer sealed until use. Confirm that the film is flat, clean, and free from folds. Check the artwork orientation before heat is applied, especially when the design contains text or a directional logo. Place the image ink-side down only after you've centered it and confirmed that the carrier will sit completely within the printable area.
A few seconds of preparation prevents many failures that operators mistakenly blame on the transfer. Moisture can interfere with bonding, wrinkles can create patchy contact, and a seam under the design can produce a permanent weak spot.
Heat, Time, and Pressure by Fabric Type
The safest DTF setting is the one that matches the transfer supplier, film formulation, press, and garment. The ranges below are practical starting points, not universal recipes. Published instructions commonly place cotton around 300–325°F (149–163°C) for 10–15 seconds with medium-firm pressure, while polyester is commonly lowered to about 270–285°F (132–141°C) for 10–12 seconds to reduce scorching and dye migration. See the fabric-specific DTF heat press tutorial for the broader operating range behind these recommendations.
DTF Transfer Settings by Fabric Type
Fabric | Temperature | Dwell Time | Pressure | Peel Method |
|---|---|---|---|---|
Cotton | 300–325°F (149–163°C) | 10–15 seconds | Medium-firm | Follow supplier specification |
Polyester | About 270–285°F (132–141°C) | 10–12 seconds | Medium, even | Follow supplier specification |
Cotton-poly blend | Start between cotton and polyester guidance, then test | Start within the supplier's range | Medium, even | Follow supplier specification |
Fleece | Use the supplier's fabric and film profile | Adjust for loft and thickness | Firm without crushing the surface | Follow supplier specification |
Canvas or denim | Often requires a longer dwell, potentially 15–20 seconds | 15–20 seconds may be needed | Firm and even | Follow supplier specification |
Nylon or coated fabric | Use a low-temperature compatible transfer profile | Start shorter and test carefully | Even, controlled | Follow supplier specification |
Blends require judgment because the fiber content, knit, dye, and surface finish all influence the result. Fleece adds loft, which can reduce direct contact between the transfer and the garment. Canvas and denim add thickness, so the adhesive may need more time to reach and bond with the surface. Nylon and coated textiles are more sensitive and shouldn't be treated like ordinary cotton.
A heavy garment such as the RXB Marlboro Rodeo Hoodie combines a 70/30 ring-spun cotton/polyester blend, a 100% cotton face, and 3-end fleece. Its construction makes a test press particularly important because the face fabric and fleece weight affect pressure transfer.
Why more heat isn't a universal solution
More heat can soften the garment surface, create shine, cause scorching, or trigger dye migration. More pressure can flatten fleece, leave press marks, and still fail to solve a film or curing problem. If the supplier's setting produces poor adhesion, change one variable at a time and document what happened.
For mixed orders, create separate profiles for cotton, polyester, blends, nylon, and coated textiles. The profile should include temperature, dwell, pressure, peel method, and post-press details. That record is more useful than a single “DTF setting” printed on a workstation card.
Pressing, Peeling, and Finishing the Transfer
Once the garment is prepared, place the transfer ink-side down with the image facing the fabric. Keep the film flat, avoid seams and hardware, and make sure the entire design sits inside the area receiving direct platen contact.
Close the press using the fabric-specific temperature, dwell, and pressure selected for the transfer. Keep the garment still during closure. If the design is large or the platen is barely covering the image, repositioning the garment and pressing in sections can create inconsistent bonding, so use a platen that covers the full transfer whenever possible.
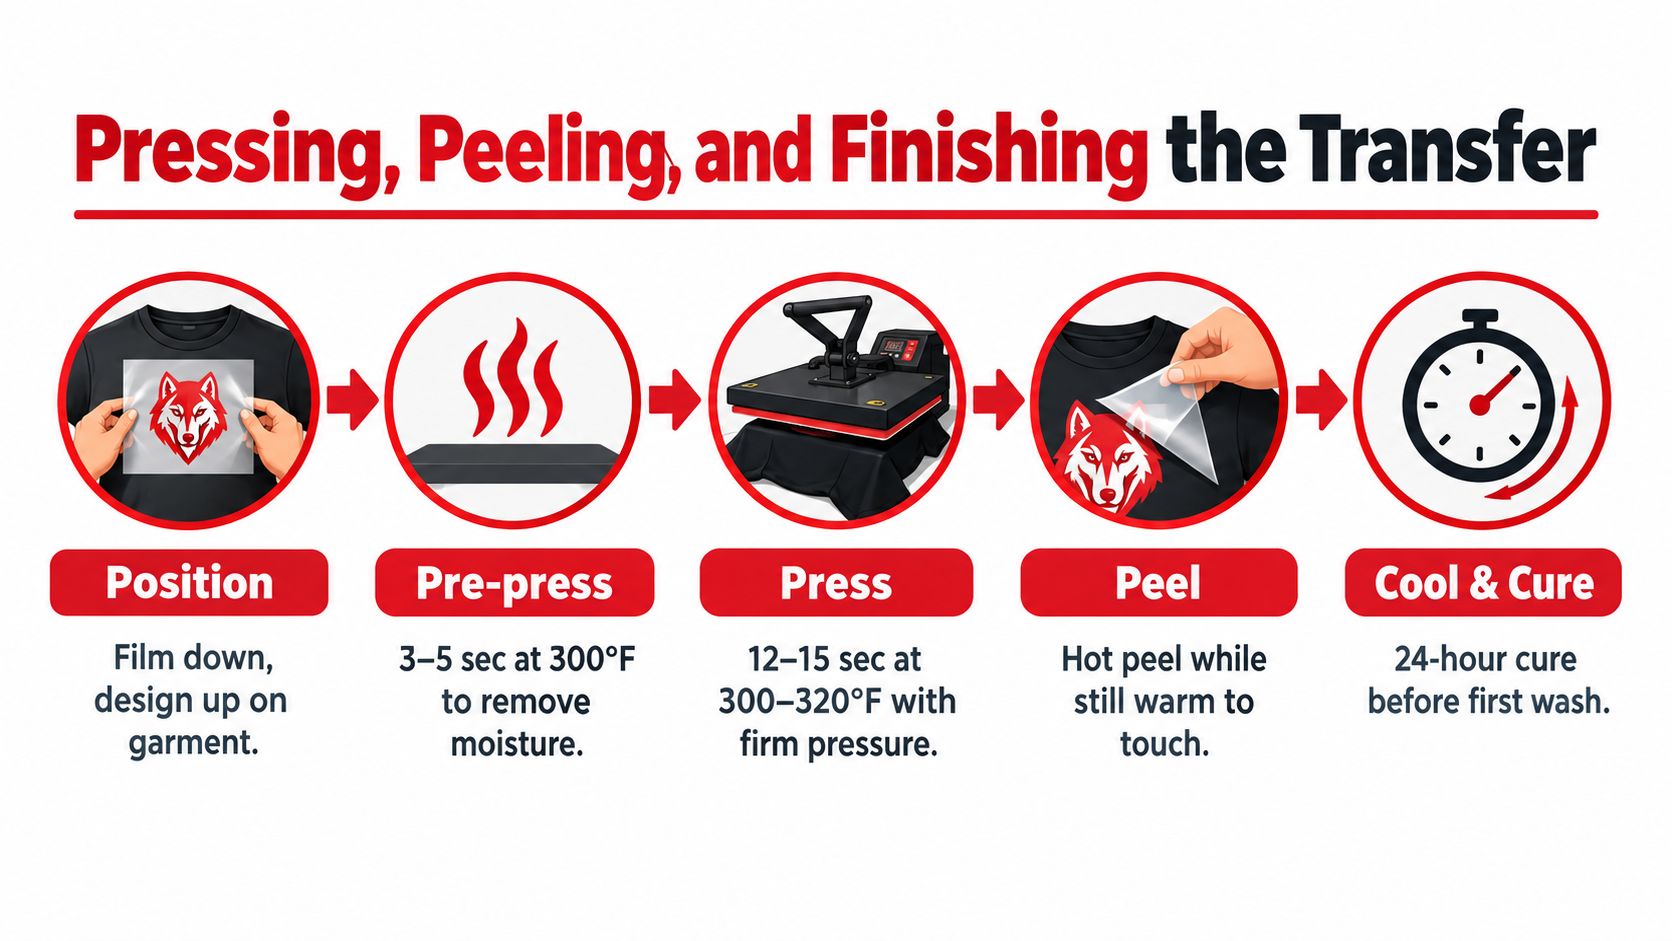
Peel according to the film, not habit
The peel is part of the application specification. Hot-peel films are removed immediately after the press opens. Warm-peel films need a short wait until the carrier is warm rather than very hot. Cold-peel films must cool completely before you lift the film.
Peeling too early on a cold-peel product can pull up adhesive and image material. Waiting too long on an instant-peel product can also make removal less predictable. Start at a corner and pull the carrier smoothly at a low angle. If the image begins lifting, stop rather than forcing the peel, then check the supplier's instructions before trying to recover the transfer.
After the carrier is removed, complete a second press of roughly 5–10 seconds through parchment or butcher paper when the supplier recommends it. This pass can improve adhesion and finish quality, especially around fine edges. It also protects the transfer from direct contact with the platen.
The heat press application example gives operators a visual reference for the placement and finishing sequence.
Finish with a visual quality check
Let the garment cool enough to handle, then inspect the entire design under good light. Look for lifted corners, pinholes, incomplete contact, gloss on the garment, distortion, and areas where the carrier may have disturbed fine detail. Stretch the fabric lightly if appropriate and watch whether the transfer flexes with it.
Don't stack garments while they're still hot. Heat and pressure from the stack can mark the surface or create unnecessary contact between finished prints and other fabrics. A clean, documented handoff from press to inspection makes defects easier to trace back to the actual setting.
Troubleshooting When Something Looks Off
The first correction shouldn't automatically be more heat or more pressure. Those changes may improve an under-pressed transfer, but they can also scorch a garment, flatten fleece, create a shiny surface, or activate dye migration on dark polyester.
Start with the visible defect. Then check the smallest number of variables that could explain it. If you change temperature, dwell, pressure, and peel timing at once, you won't know which adjustment solved the problem.
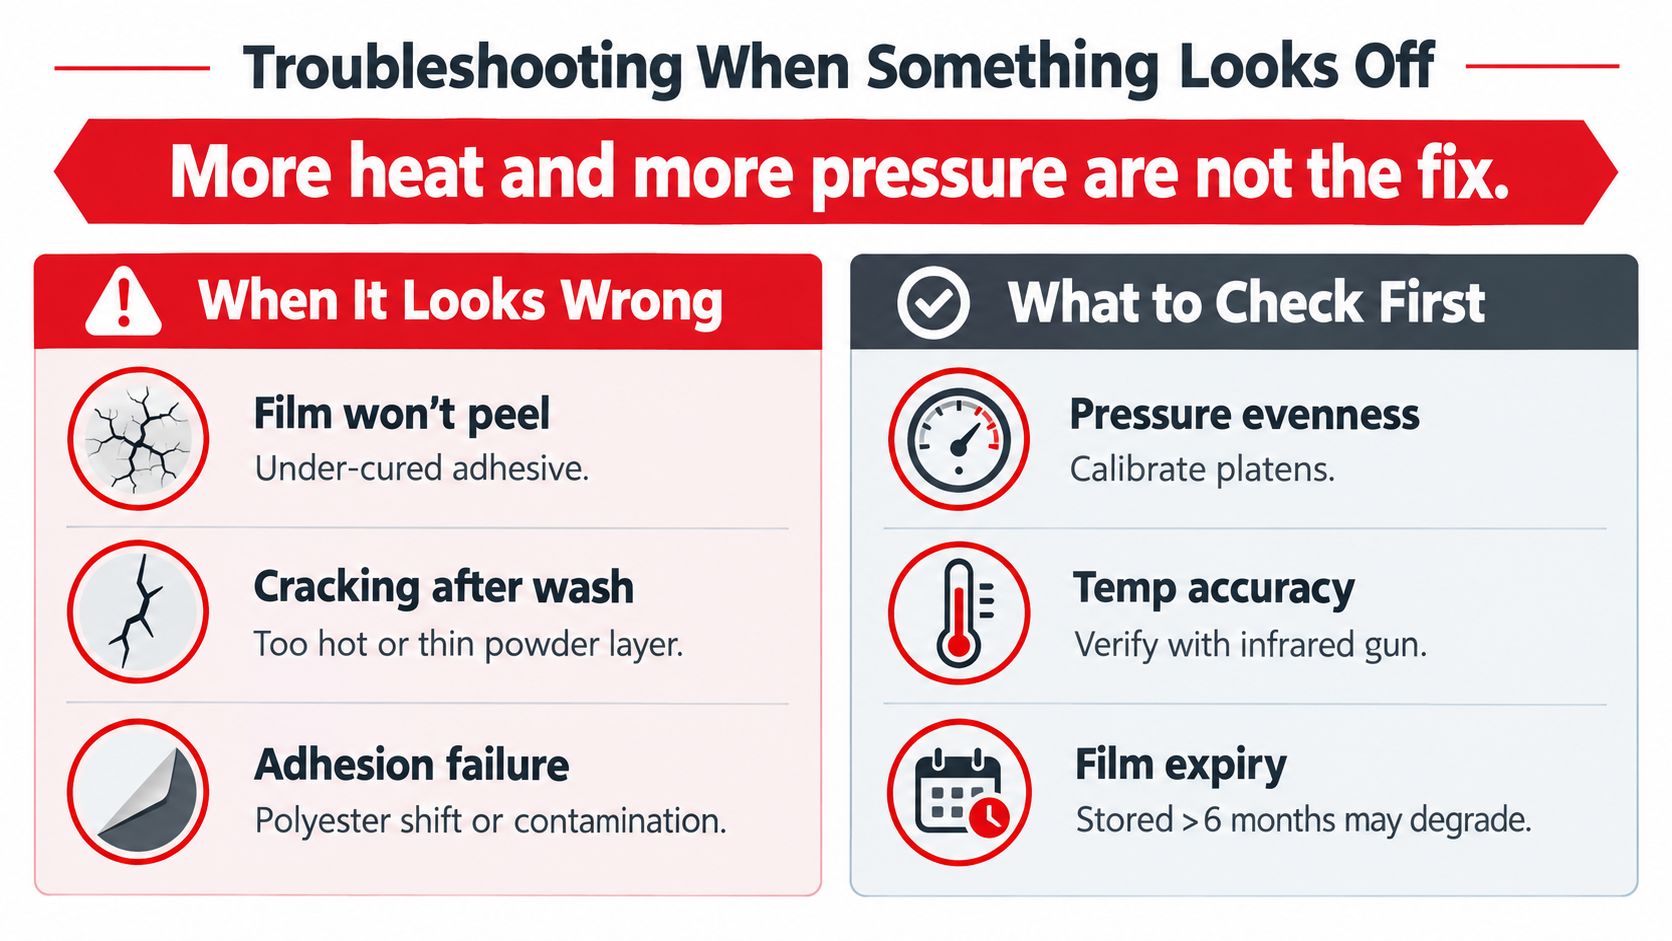
DTF Defects and Likely Fixes
Defect | Likely Cause | First Adjustment |
|---|---|---|
Edges lift | Insufficient bonding, inadequate pressure, or incorrect peel timing | Verify pressure and peel specification, then test the supplier's dwell range |
Design cracks | Under-pressing, poor adhesive contact, or unsuitable fabric stretch | Check temperature, pressure, and fabric compatibility before increasing heat |
Film won't release cleanly | Wrong hot, warm, or cold peel timing | Follow the film's peel method and test a small corner |
Shiny garment surface | Excessive heat, pressure, or dwell | Reduce heat or dwell within the supplier's approved range |
Color shift on polyester | Dye migration or excessive heat | Use the lower polyester profile and validate after laundering |
Patchy adhesion | Moisture, folded film, seams, or uneven pressure | Re-press a dry, flat sample with even platen contact |
Corner lifts after washing | Weak bond, poor curing, or contamination | Review the full process and test a representative replacement blank |
A transfer that looks good immediately can still fail later. Dark polyester and heat-sensitive performance fabrics need a separate validation run because dye migration and heat distortion may not appear until after laundering.
More heat and more pressure are not the fix. The right correction depends on whether the defect points to under-pressing, over-pressing, peel timing, contamination, or fabric behavior.
Inspect the blank before blaming the film. Silicone finishes, water repellency, fabric softener residue, lint, and uneven garment construction can all change the contact surface. If one area fails while the rest of the transfer bonds, look for a pressure or surface problem in that exact area.
Wash Care and Realistic Durability Expectations
Wash-life claims are difficult to compare because detergent, water temperature, dryer heat, abrasion, print coverage, adhesive quality, and fabric construction vary. A technical textile-washing study found that DTF samples remained among the most wash-resistant specimens, with no meaningful visual color loss through approximately 15–20 wash cycles and insignificant color loss in selected samples after 50 cycles. That result supports process testing, not a universal guarantee. Review the technical textile-washing study for the reported testing context.
Wait 24–48 hours before the first wash so the application can stabilize. Wash the garment inside out in cold or approximately 30°C water on a gentle cycle, use a mild detergent, and avoid fabric softener or harsh chemicals. Dry at low temperature or air-dry. Keep an iron away from the printed surface unless a protective barrier and the supplier's instructions specifically permit it.
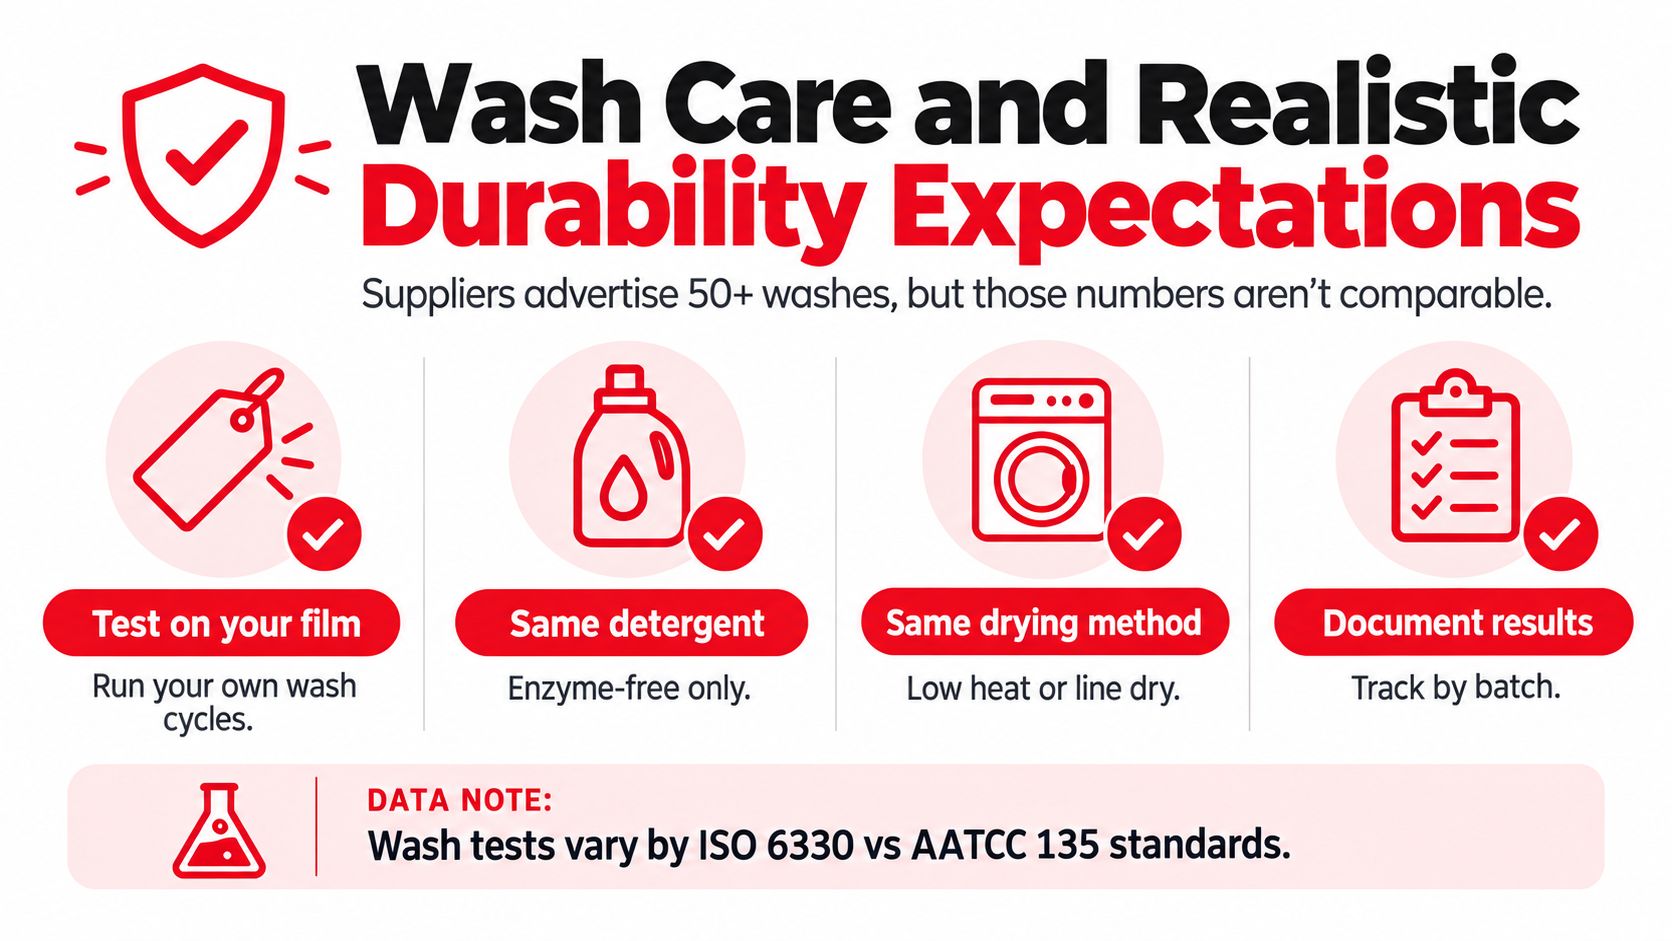
Build a wash test you can defend
Use a representative blank, the same transfer profile, and the same care routine your customer is likely to use. Inspect the garment after 5, 10, 20, and 50 cycles for:
Edge integrity: Look for lifting, curling, or separation around the perimeter.
Surface condition: Check for cracking, peeling, gloss change, or color shift.
Stretch recovery: Flex the fabric and note whether the transfer remains bonded and returns without visible damage.
Garment interaction: Watch for dye migration, shrinkage, or fabric distortion that affects the print.
A practical acceptance threshold is zero visible edge lifting or cracking at the customer's required cycle count. If a sample fails, review temperature, pressure, dwell, peel timing, adhesive curing, and fabric suitability before making a durability promise.
Durability also includes appearance. A transfer can remain attached while losing stretch, changing gloss, or showing edge wear. For workwear, uniforms, and event garments, document the expected care routine rather than relying on a headline wash count that may have been produced under different conditions.
Pre-Batch Checklist and Final Takeaways
Before pressing a batch, confirm the supplier's film and fabric instructions, calibrate or verify the press, and run one test garment made from the same blank. Record the temperature, dwell time, pressure, peel method, post-press setting, and inspection result.
For mixed apparel, validate each fabric category separately. A cotton tee, polyester shirt, fleece hoodie, nylon garment, and coated textile should not share a profile just because they carry the same artwork. Save the successful settings with the garment description so a reorder can reproduce the result.
Use the production quality reference as part of the team's station documentation, but let the supplier specification and the test garment make the final decision.
Wear X Apparel, LLC provides custom DTF garment printing, garment selection support, and production services for individual pieces and batch orders. Visit Wear X Apparel, LLC to discuss a fabric-appropriate apparel project, confirm the right garment for your use case, and move from artwork to a tested production run.
Comments